- Go to Discovery ➔ Settings ➔ Discovery;
- Click on the icon
⁝, and choose the option + New;

- Select Device;
- Add the information:
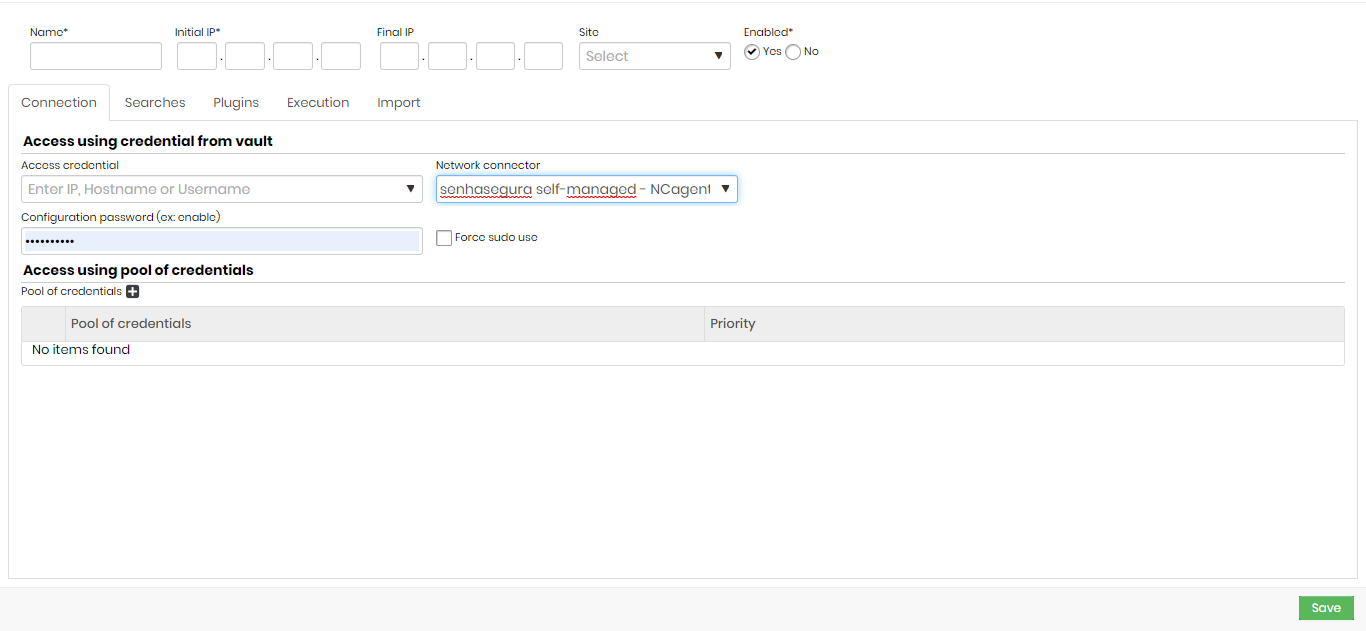
- Name: name that will identify the search.
- Initial IP: IP of the initial polling range.
- End IP: end IP of the polling range. If this field is not filled, only the IP of the starting IP field will be taken into account to verify the credentials and the device.
- Site: name of the sites to be verified. All sites registered in Segura will be displayed.
- Enabled: indicate if you want the device activated or not.
Connection
- Access credential: an access credential for the search. Choose an IP, a Hostname, or a Username.
It is recommended that you use the credentials of a user who has access to the search in question or privileged access.
All credentials registered in Segura will be displayed.
- Configuration password (ex: enable): password used before performing the authentication of the search process.
- Force sudo use: if the user needs to execute the sudo to have the permissions of these searches, the commands will be executed as a superuser.
The credential filled in the Access credential field must have the info sudo nopasswd.
- Access using pool of credentials
- Pool of credentials: the set of credentials used to perform the verification.
- Priority: the credential set priority.
Higher-priority credential pools take precedence over lower-priority credential pools.
Searches
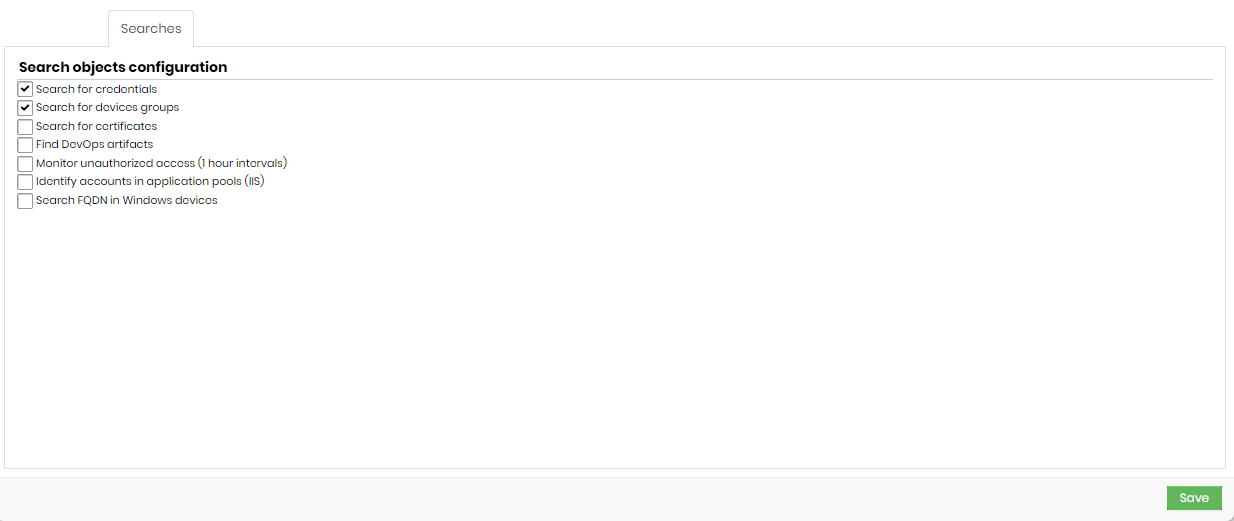
- Search for credentials: if this option is enabled, credentials will be included in the discovery process.
- Search for device groups: if this option is enabled, device groups will be included in the discovery process.
- Search for certificates: if this option is enabled, digital certificates will be included in the Discovery process.
The Certificates tab will be visible if this field is checked.
- Find DevOps artifacts: if this option is enabled, DevOps artifacts will be included in the Discovery process.
The DevOps tab will be visible if this field is checked.
- Monitor unauthorized access (1-hour intervals): if this option is enabled, unauthorized access to credentials will be monitored and logs can be viewed in Discovery.
- Identify accounts in application pools (IIS): if this option is enabled, credentials in application pools (IIS) will be included in Scan & Discovery.
- Search FQDN in Windows devices: if this option is enabled, device search will identify its FQDN and consider it in the discovery process.
The FQDN will be the unique device identifier if this option is enabled.
Plugins
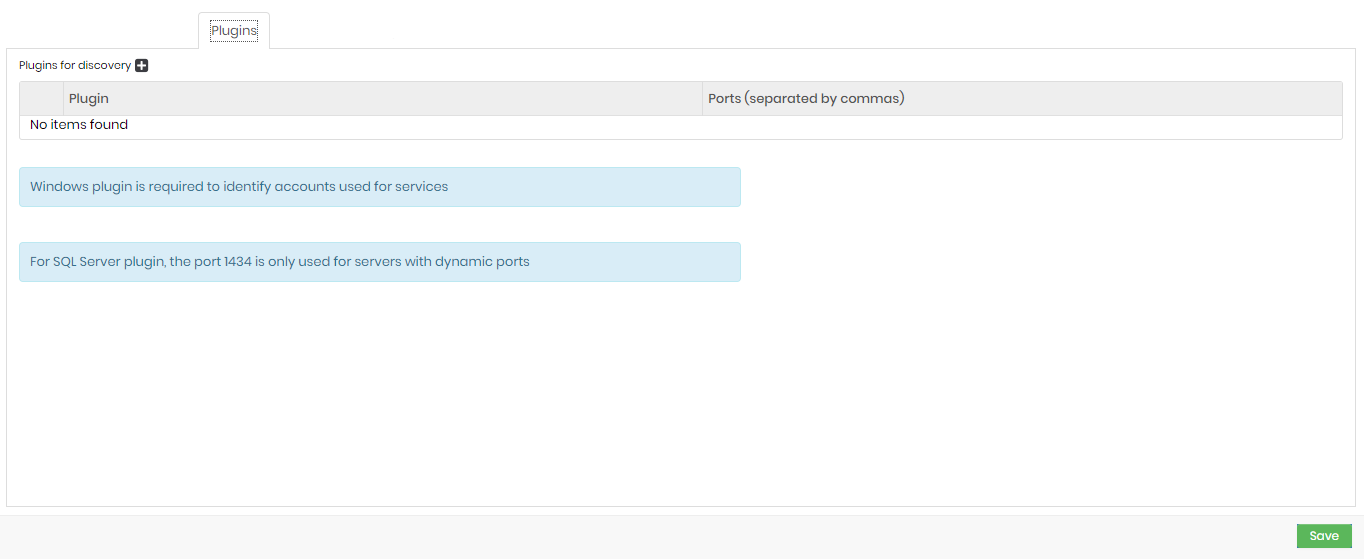
Click on the icon + e fill in the plug-in field.
To search for Windows service accounts, you will need to select a Windows plugin under the Plugins tab.
Execution
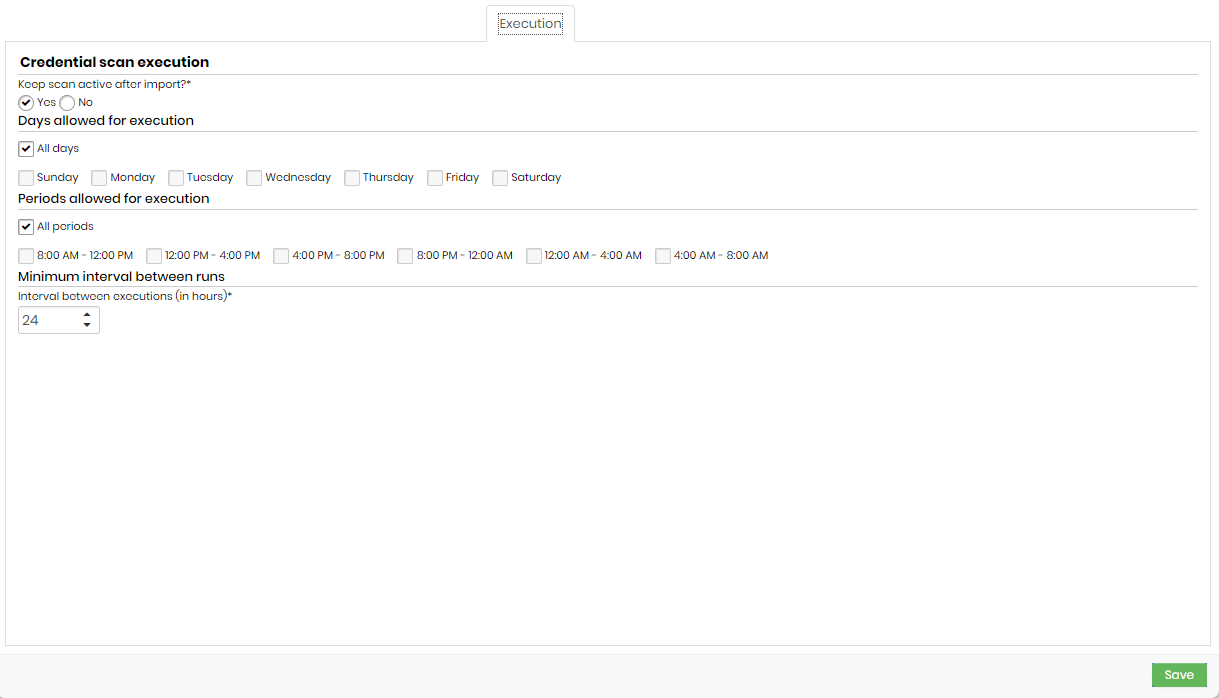
- Keep scan active after import?: credential verification that will remain active after credential import or not.
- Days allowed for execution: days that will be allowed to perform the execution.
- Periods allowed for execution: times that will be allowed for execution.
- Interval between executions (in hours): minimum interval, in hours, between scan runs. This criterion takes into account the values informed in the Days allowed for execution and Periods allowed for execution fields.
It is not recommended to add an interval of fewer than 8 hours.
Import
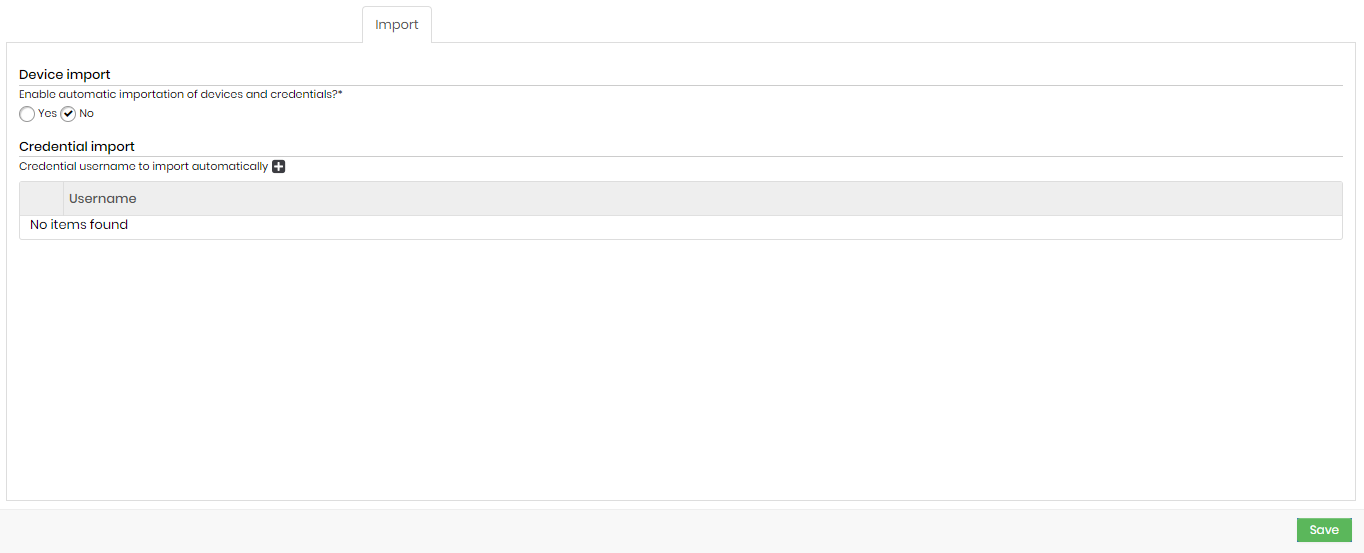
- Enable automatic importation of devices and credentials?: indicates whether the automatic importation of credentials and devices is enabled or not.
- Credential import: credential usernames that will be automatically imported (eg Administrator).
Additional tabs
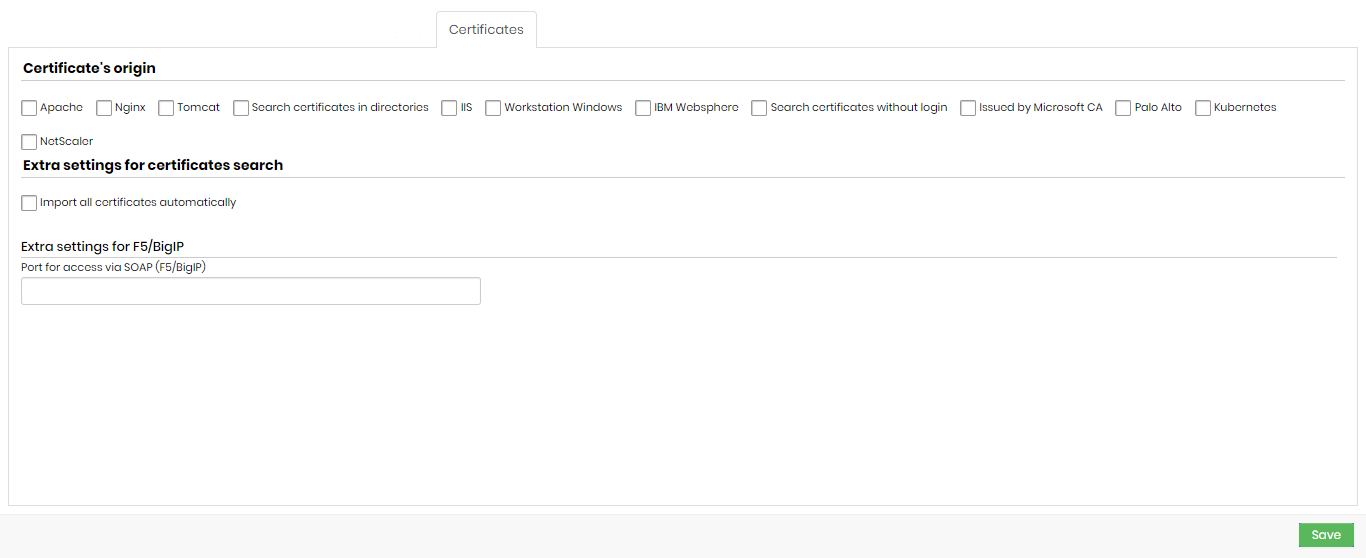
Certificates
If you click on Searches, and the option "Search for certificates" is checked, you will have one more tab:
Valid extensions for performing a certificate discovery are:
.crt, .cer, .ca-bundle, .p7b, .p7c, .p7s, .pem, .p12, .pfx and .pem
It is possible to discover certificates along with keys, as long as the search takes place in directories in Linux environments.
Discovery imports the key along with the certificate. It is not possible to import keys separately.
Certificate’s origin
- Apache
- Nginx
- Tomcat
- Search certificates in directories
- IIS
- Workstation Windows
- IBM Websphere
- Search certificates without login
- Issued by Microsoft CA
- Palo Alto
- Kubernetes
- NetScaler
Extra settings for certificates search:
- Import all certificates automatically
- Extra settings for F5/BigIP
Extra settings for Tomcat
When selecting the Tomcat option, this field will be displayed:
- Tomcat configuration file path
Extra settings for search in directories
When selecting the Search certificates in directories option, these fields will be displayed:
- Path of the directory where to fetch certificates
- File extensions to look for
Extra settings for Windows search
When selecting the Workstation Windows option, these fields will be displayed:
- Search local Windows certificates
- Search Windows user certificates
- Search CA's root
Extra settings for Websphere
When selecting the IBM Websphere option, these fields will be displayed:
- Path of app_server_root websphere
- Credential
- KDB Path websphere to search certificates
- Discovery using credential from vault
- Discovery using pool of credentials
This option allows certificates with a password and key to be imported into Segura.
Extra settings for search without login
When selecting the Search certificates without login option, this field will be displayed:
- Ports for searching for certificates without login
Extra settings for Palo Alto (PAN-OS)
When selecting the Palo Alto option, this field will be displayed:
- API Key: select a user, already registered with Segura, that contains the value of the API Key.
- Import keys?: indicates that when finding the certificates, the keys will be imported to Segura as well.
Go to Discovery ➔ Certificates ➔ Certificates, to view the report of found certificates. Use the action button to perform a manual import.
Extra settings for Kubernetes
When selecting the Kubernetes option, these fields will be displayed:
- API URL
- Kubernetes access token
- Kubernetes access port
Extra settings for NetScaler search
When selecting the NetScaler option, these fields will be displayed:
- Import key
- API key
DevOps
If you click on Searches, and the option "Find DevOps artifacts" is checked, you will have one more tab:
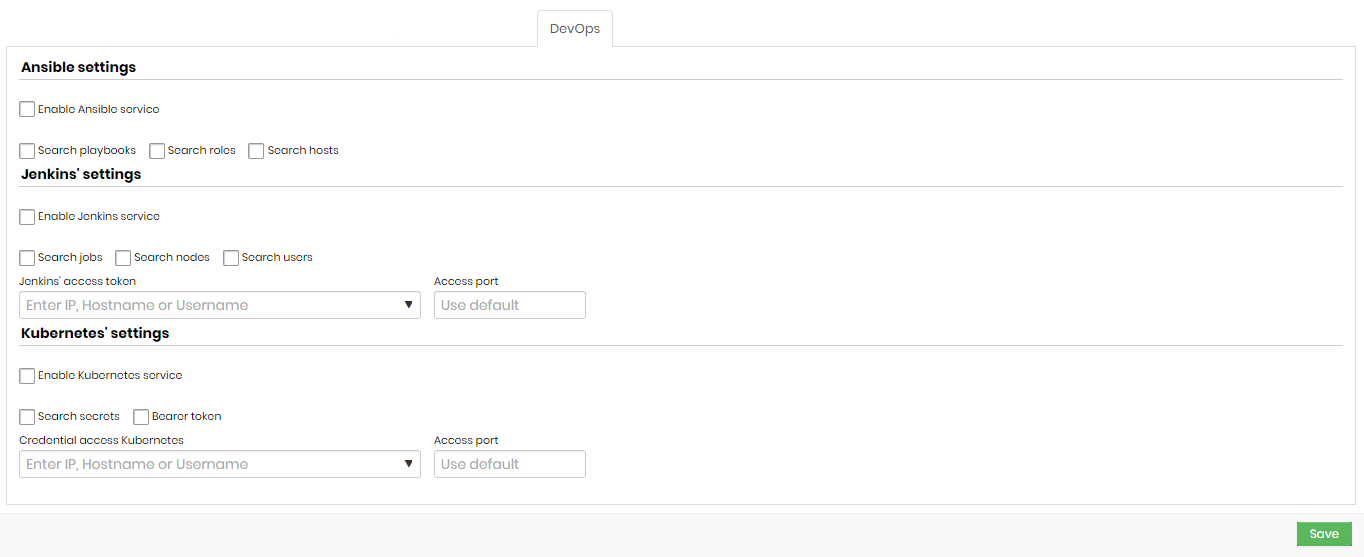
Ansible settings
- Enable Ansible service: indicates whether the Ansible service is enabled.
- Search playbooks: indicates whether the search for playbooks is enabled.
- Search roles: indicates whether role search is enabled.
- Search hosts: indicates whether host search is enabled.
Jenkins' settings
- Enable Jenkins service: indicates if Jenkins searches are enabled in this search.
- Search jobs: if this option is enabled, Discovery will search for Jenkins Jobs.
- Search nodes: if this option is enabled, Discovery will search for Jenkins nodes.
- Search users: if this option is enabled, Discovery will search for Jenkins users.
- Jenkins' access token: a token that will be used to access Jenkins.
- Access port: Jenkins access port.
Kubernetes' settings
- Enable Kubernetes service: indicates whether Kubernetes searches are enabled for this search.
- Search secrets: if this option is enabled, Discovery will search for Kubernetes Secrets.
- Bearer token: indicates whether the bearer of the token is the same as the credential.
- Credential access Kubernetes: credential that will be used to access Kubernetes.
- Access port: access port to Kubernetes.
Segura has a Kubernetes plugin that allows you to use credentials registered in the vault to use the service, increasing security when using the system. To gain access to the plugin, contact the Segura support team.