SAML 2.0
- 2 minutes to read
- Print
- DarkLight
- PDF
SAML 2.0
- 2 minutes to read
- Print
- DarkLight
- PDF
Article summary
Did you find this summary helpful?
Thank you for your feedback
To integrate senhasegura with SSO services that support SAML 2.0, you must set up your SSO service properly.
Info
The application only supports SAML as a WEB authentication provider.
Change in SSO Authentication Behavior
Starting from version 3.32, whenever a user initiates a new session in senhasegura using SSO via SAML, they will need to authenticate again with their identity provider (Azure, Okta, etc.), regardless of whether they are already authenticated with the provider. This ensures that only the legitimate user can access the system.
senhasegura should then receive the following information for configuration:
- Entity ID: Identification of senhasegura in the SAML provider
- SAML provider metadata URL: URL of the SAML service published by the provider (role descriptor) This XML contains the interface elements, signing keys or encryption keys, and the SSO protocol endpoints.
- Redirect URL: URL of senhasegura that will receive the authentication steps.
By default, it will be as follows: https://senhasegura.mycompany/flow/saml/auth/assert/, where the example domain senhasegura.mycompany should be replaced by the IP or access domain of the senhasegura instance. - SSO Login URL (Sign-in URL): URL provided by the SAML SSO provider to senhasegura to be accessed at login.
- SSO Logout URL (Sign-out URL): URL provided by the SAML SSO provider to senhasegura to be accessed at logout.
Info
SAML does not support SSH and RDP connections and, therefore, does not support any access via jumpserver.
We recommend that you request a PEM private key and certificate to enable senhasegura to communicate with the SSO SAML provider using encryption.
To enable SAML as an authentication provider in senhasegura:
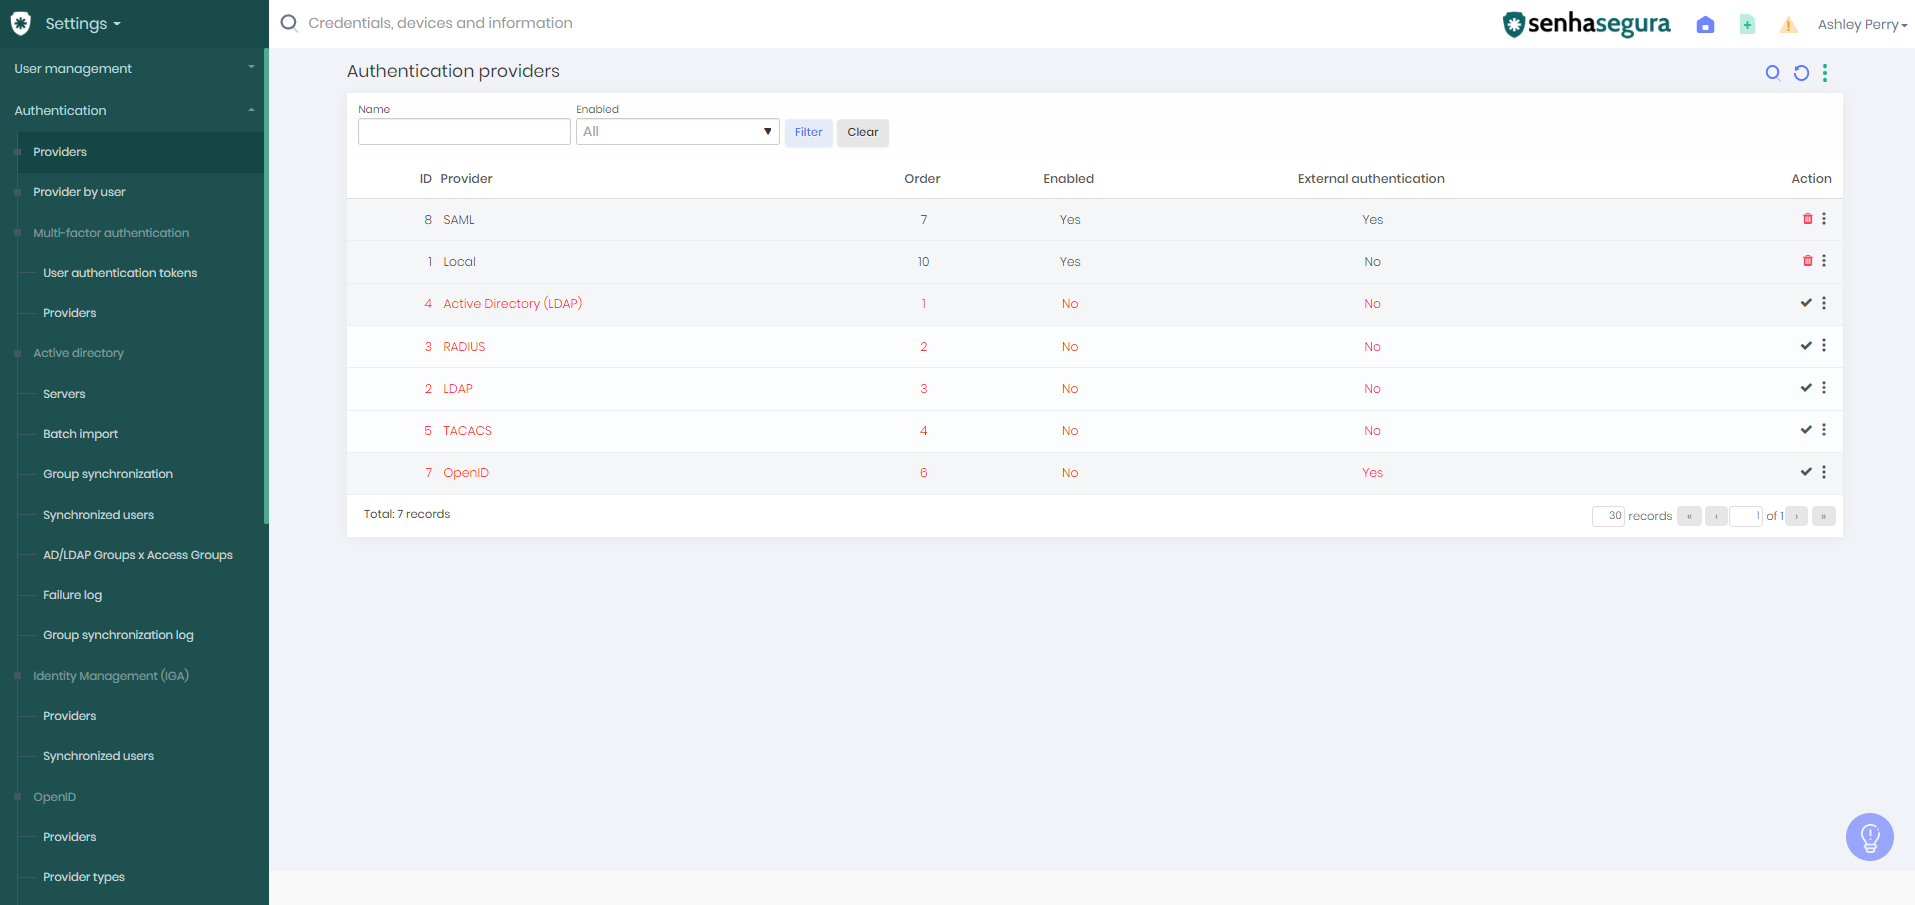
- Go to Settings ➔ Authentication ➔ Providers.
 authentication providers
 - Find SAML in the list of supported providers and change its status to Enabled.
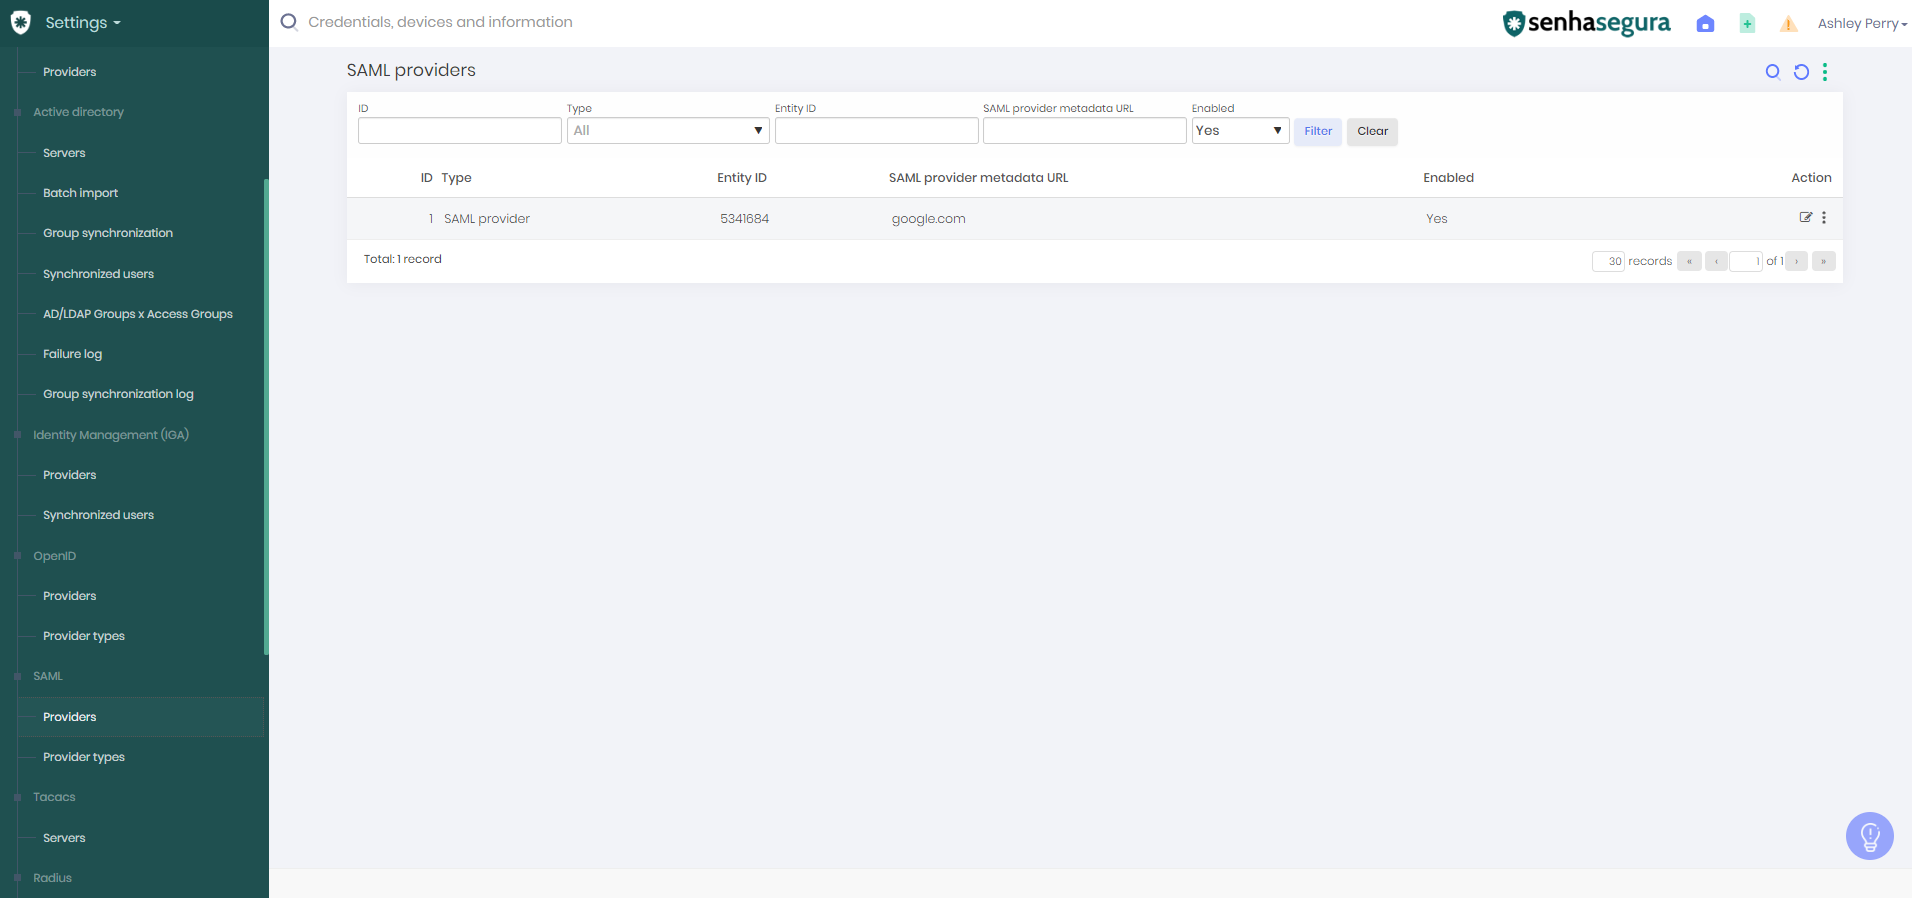
- Go to Settings ➔ Authentication ➔ Providers ➔ SAML ➔ Providers.
 SAML Providers
 - Click the Action button (⁝) and select +New.
A new window will pop up where you can add the provider details.
Main Information tab
- Type: Type of the SAML SSO provider. Use the generic term SAML provider if you cannot find your provider on the list.
- Entity ID: ID used to identify senhasegura in the SAML provider.
- SAML provider metadata URL: The URL of the SAML service (role descriptor). This XML file contains interface elements, signing keys or encryption keys, and the SSO protocol endpoints.
- Redirect URL: senhasegura's URL is used to receive the authentication steps.
- By default, senhasegura's URL is *https://senhasegura.mycompany/flow/saml/auth/assert/*, where senhasegura.mycompany represents your domain or IP address. Replace it with the domain of the IP address of your senhasegura instance.
- SSO Login URL (Sign-in URL): URL provided by the SAML SSO provider to senhasegura for login.
- SSO Logout URL (Sign-out URL): URL provided by the SAML SSO provider to senhasegura for logout.
Security SAML tab
- Certificate (PEM format): Insert the certificate information provided by your provider using SAML.
After the setup, senhasegura users will see an option to log in using SAML whenever they load senhasegura's login page. Authentication rules and expiration time are now managed by the SSO SAML provider.
Was this article helpful?


